Stencil and Vinyl
Continuing on my t-shirt kick, I made one for Sienna. I was excited to combine some stenciling and heat vinyl on her shirt. I don’t usually do step by steps but I thought it would be a good reference. I used Sienna’s favorite color, pink!
For the stenciling, I used one of the fabric sprays I made with the Earth Safe Finishes product. I wrote a post about it here (I have since gotten some tips from ESF for a truer red, more experimenting to come!)Â For the vinyl, I used heat vinyl I bought from Nick at Craft Vinyl earlier this year. He is really an awesome vendor! My vinyl arrived the same week (I ordered regular vinyl, glow in the dark vinyl and the heat vinyl.) I was really excited to try the heat vinyl (initially with my Sizzix to cut) and was totally bummed when the instructions say not to cut through the protective layer of the vinyl. Drat! All the fancy digital die cutters can do that (none of which I have but feel free to buy me one!)Â but certainly not a Sizzix machine. I tried looking online for some helpful tips or videos. There was nothing. I finally wrote to Nick and he asked me to call him on his 800 number. He was so very nice and informed me that it was ok to cut through that layer and just use my nails to take it off that layer. I was still reluctant so had done a test on a scrap shirt. It was easy to come off! And if you don’t have nails, you can also put it through the wash and it will come off there too or at least loosens it up to make it super easy to come off. What a relief!
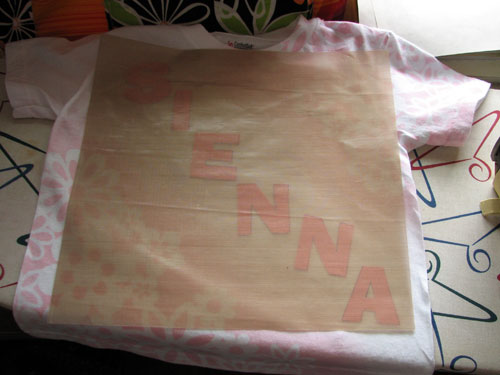
For the heat vinyl, I printed out her name on my computer, cut those letters out and then traced it on the heat vinyl. Because of the plastic protective layer on the vinyl there were no worries of my marker transferring to the shirt.
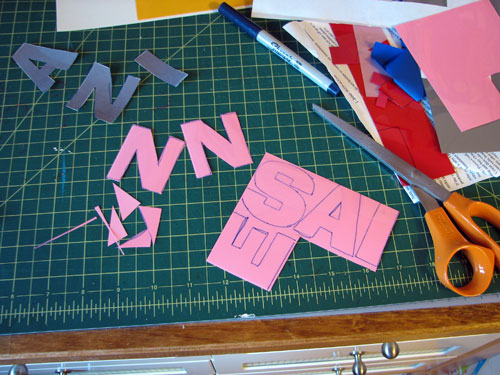
I did an initial layout:
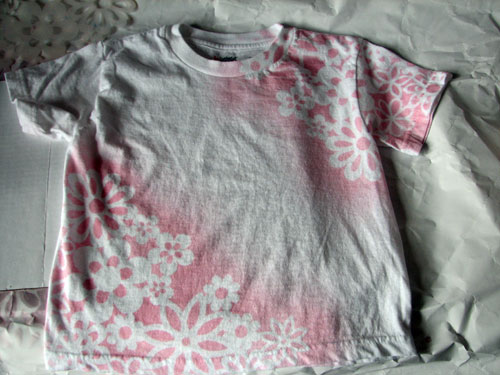
Then started spraying! I used ESF’s tackifier to keep the stencil down. Stencil is from The Crafter’s Workshop. I learned while doing my test shirt to do the spraying in layers
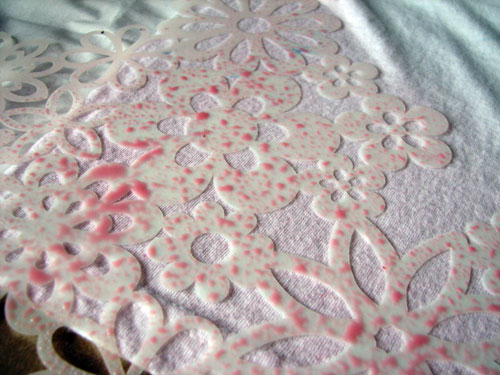
and to dab off the excess between each spray
the spraying is done!
Now on to the vinyl!

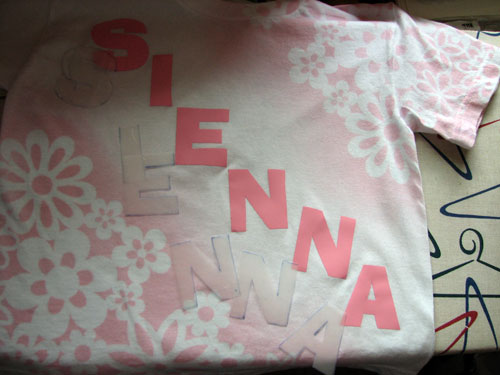
I’m not very patient so did all the letters at the same time. Here is the teflon sheet you should use over it and then iron. You don’t need to iron for very long but make sure you keep it moving! Let it cool before peeling the protective layer. If you see the vinyl coming off when you try peeling it, don’t worry, just iron it some more.
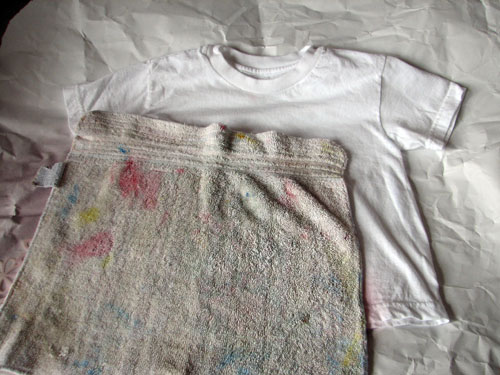
You can see the layer that I peeled off. I may keep them to use as templates or stencils for future projects.
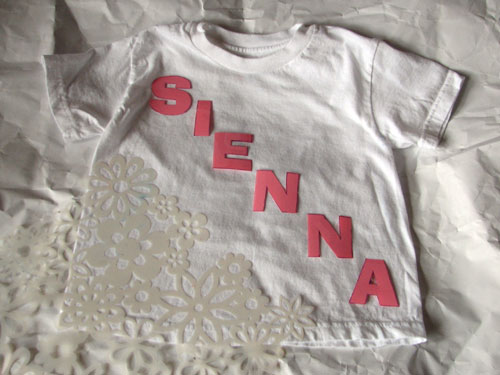
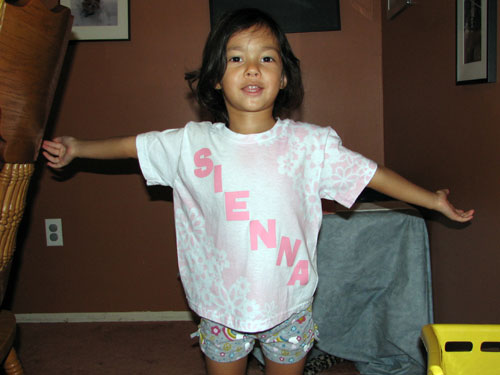
All finished!
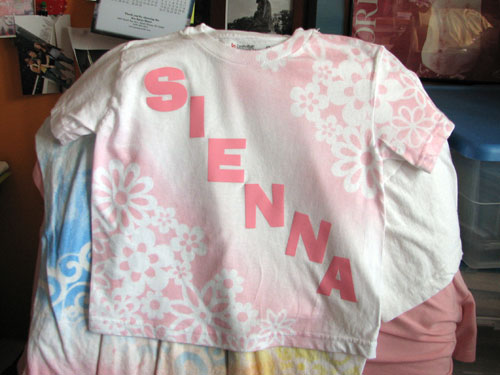
And Sienna was kind enough to try it on and pose for me!
 Comments(1)


It came out really cute! I like the font you’ve been using too.