Iron Craft ’14, Challenge 2
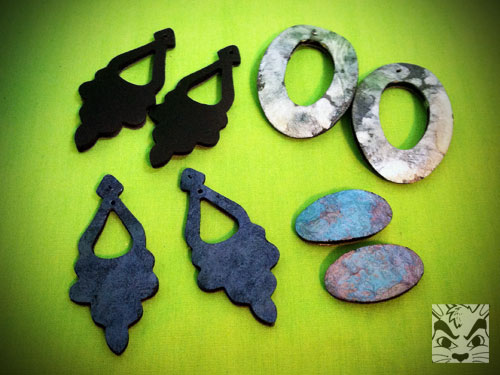
Before I get to the 2nd challenge for Iron Craft 2014, here are one set of earrings I finally finished from the first challenge!
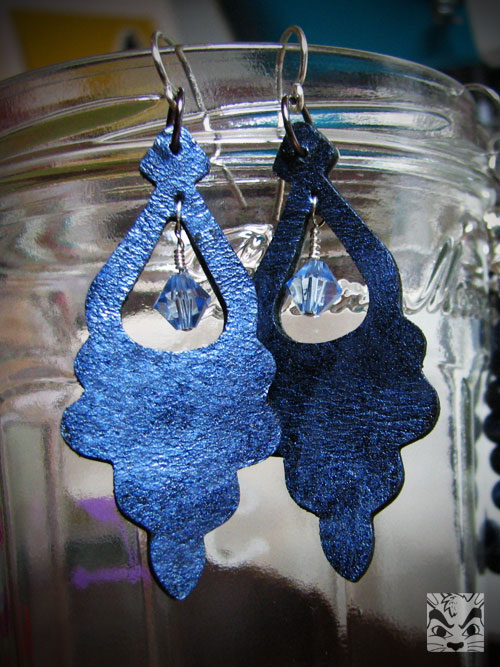
I added some swarovski crystals and they have a nice sparkle. It’s too bad the photo can’t really show the opalescent sheen from the paint. The paint, btw, is Pebeo Fantasy Moon paints in Metal Blue. I really like these paints, especially in combination with other colors. I’ll post some of what I did with them in another post.
Now on to the 2nd challenge! Get It Together! As you can guess, about organizing. I am constantly trying to organize and keep organized. If you know me, you know it is not easy! I tease hubby about his endless lists but now I have started doing lists too and yes, it is very helpful! One of the problems for me is if it is out of sight, it is out of mind. And with all the craft supplies I have, it is hard to keep it organized and know what I have! Sigh…constant battle!
Anyway, a lot of my craft supplies is in my studio (the extra bedroom) but it does make it out to other areas of the house, much to Yves’ dismay. He has the closet in the bedroom for his clothes but a few of my (and Sienna’s too!) supplies take up the big shelf. He decided to just give over the whole closet to me (to be fair, it’s not a very big closet considering it’s in the master bedroom!) and get a wardrobe/armoire type thing to put in the corner of the bedroom. We are still waiting for it to arrive and to make room, our 4 drawer metal file cabinet is going to move into the studio (big purging of papers in there!) and 3 of the 4 drawers will hold craft supplies! My jewelry box sat on top of the file cabinet and now that it’s going to move into the closet of my studio, I wanted to rethink how to store my bracelets and pendants. My earrings were already hanging up as seen here. Being able to see all my earrings is so helpful so I thought I would make a hanging jewelry organizer to be able to see the rest of my jewelry! I pinned 2 tutorials to get ideas but really just sort of winged it. I am so proud to say that I made it in ONE day!! I started it in the morning and finished it up after dinner LAST WEEK!! Can you believe it? Me? The procrastinator?! I was really revved up with the idea and knew I had to finish it that day as who knows how long it would have sat, half finished, otherwise? And here is my pride and joy!
Originally, I was thinking of making it double sided but after starting, realized that I would be making it harder on myself to do that. It wasn’t very hard at all but the vinyl definitely proved the most challenging even though I used a teflon foot! Here’s some photos to show my process. The fabric I used is a heavier weight cotton that a friend gave to me when she moved and unloaded all her crafty good intentions on me. It has been in my stash at least 3 years!
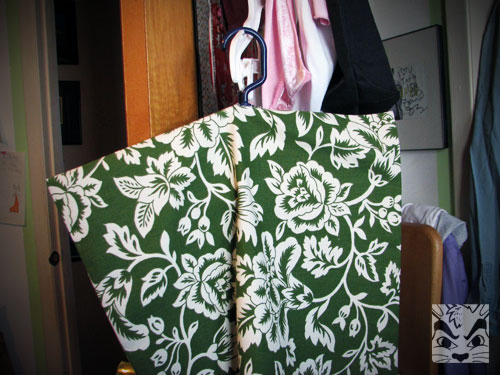
Hangar Fail! Realized using a standard shirt hanger was not going to work! Decided on pants hanger instead.
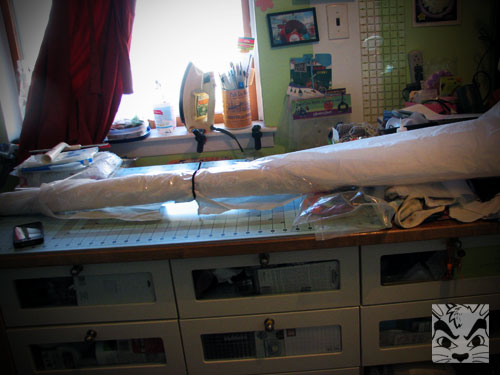
Dealing with the big role of vinyl. I had bought this vinyl online years ago at the beginning stages of my sewing and clearly did not know what I was ordering! I didn’t realize it was going to be so big and come like this! I cut off a big piece for my project and then cut that down.
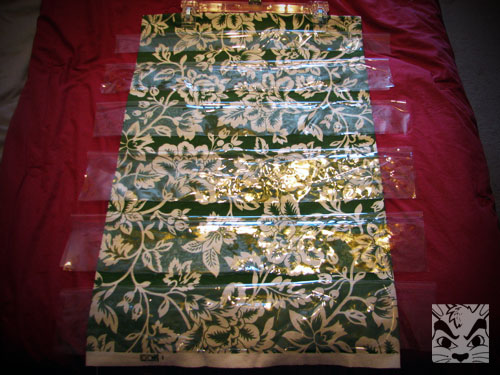
Laying out each piece of vinyl for placement.
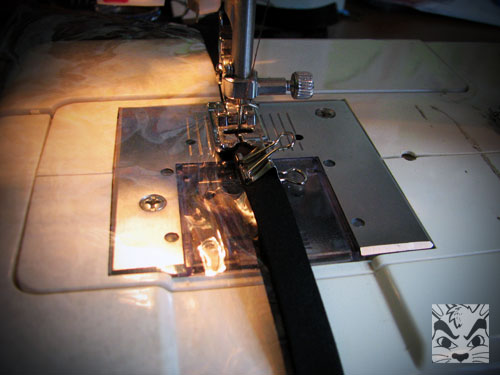
Sewing on the bias tape (also from my friend) to make the vinyl look prettier.
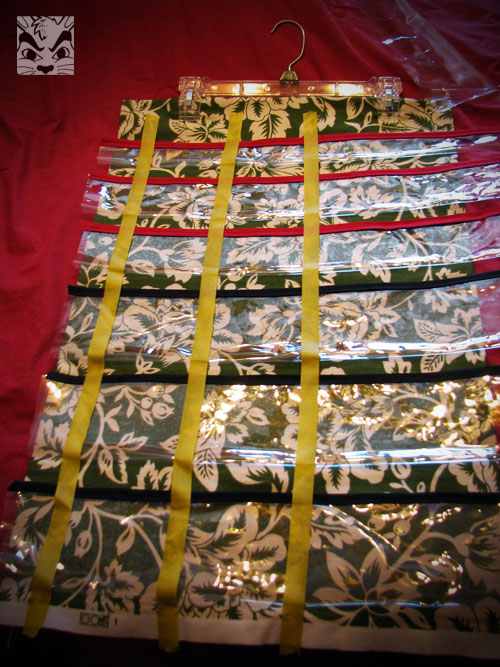
After doing all the vinyl, I thought it would make it easier to sew the rows together at the same time and taped it down. This is paper tape that I thought was low tack. It ended up getting stuck on the vinyl so had to clean it up with goo gone. Some spots took quite a bit of elbow grease. Not sure if taping it down really helped me in the end.

Finished the first row!!
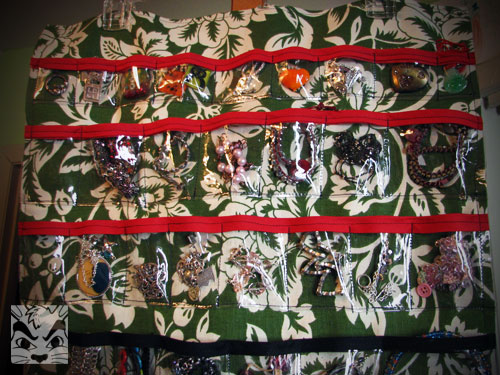
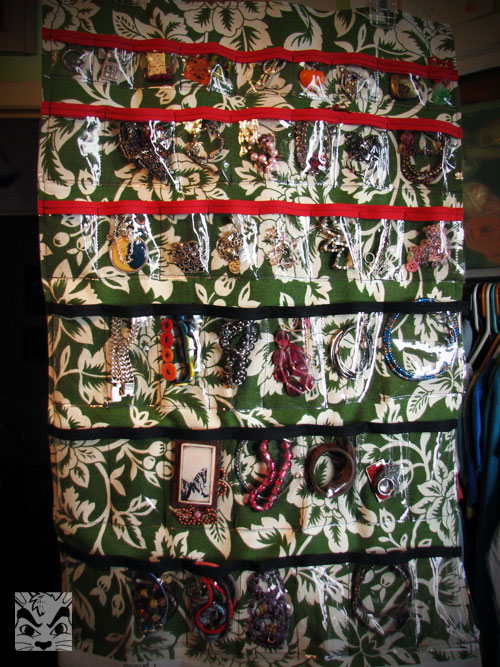
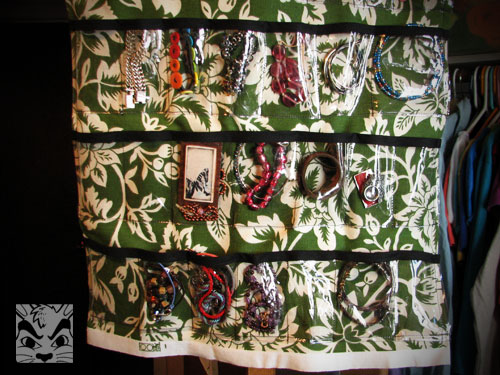 Close up shots. I’m so happy with it and now I can see most of my jewelry (there are a few stragglers that I don’t know if I am going to keep.)
 Comments(1)
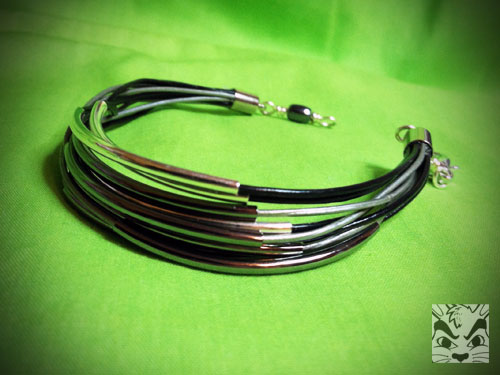
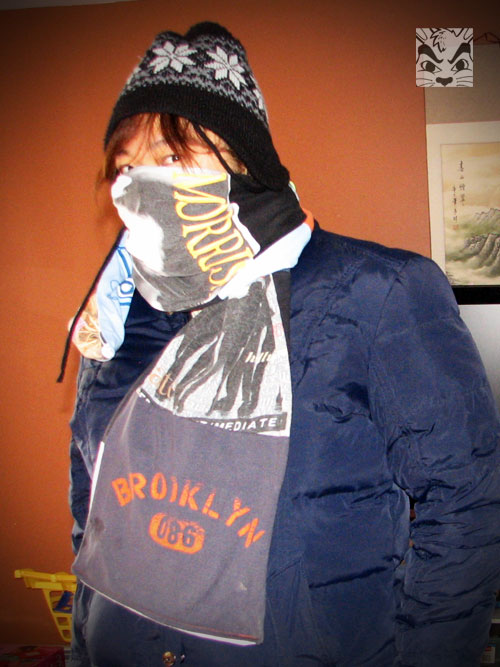
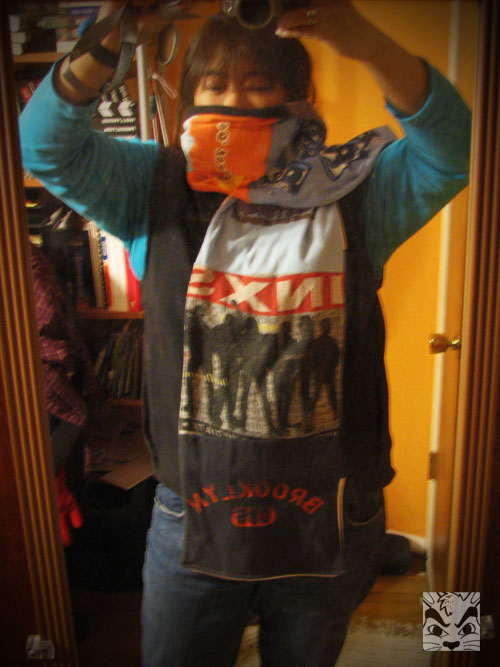
 I made this last year sometime, maybe even a little over a year ago, and I only got to wear it once or twice before the thread came loose. Thankfully, the whole thing did not fall apart as it was just the end part where I guess I did not tie it tight enough. It sat in my jewelry box waiting to be fixed. It finally saw the light of day when I was working on the noodle bead bracelet. Yves got me these sexy visors for Christmas:
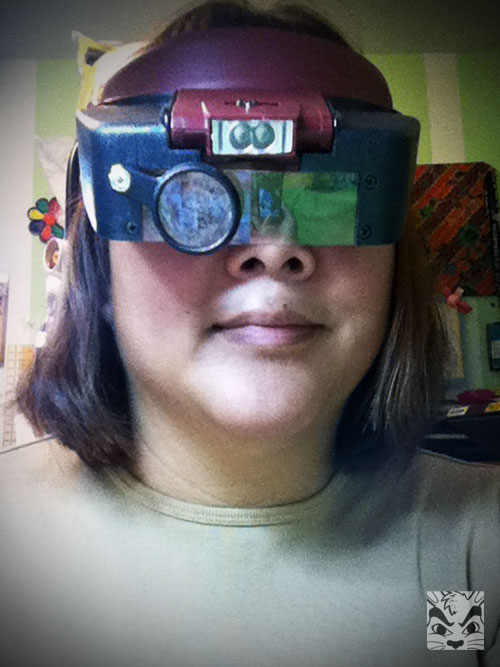
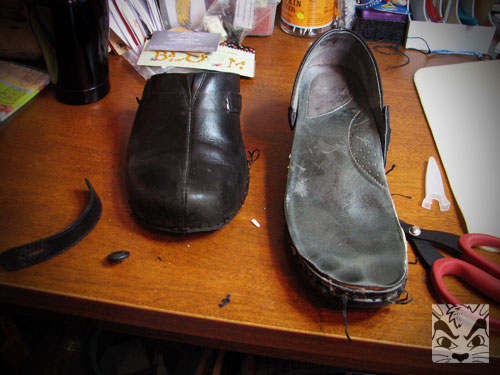
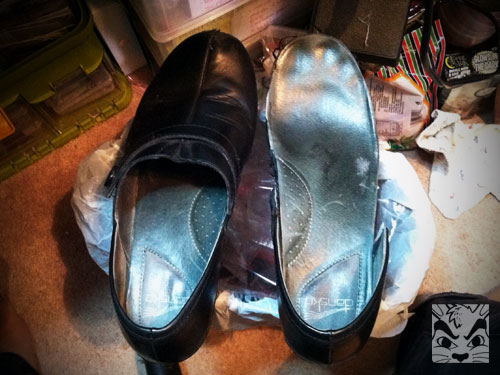
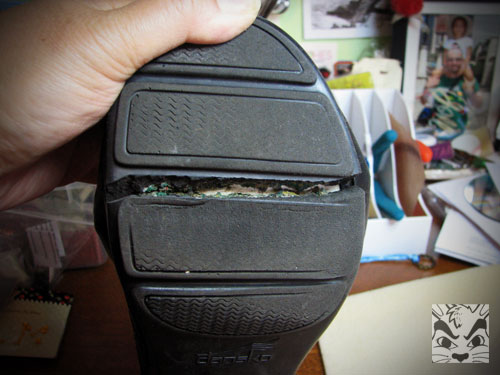
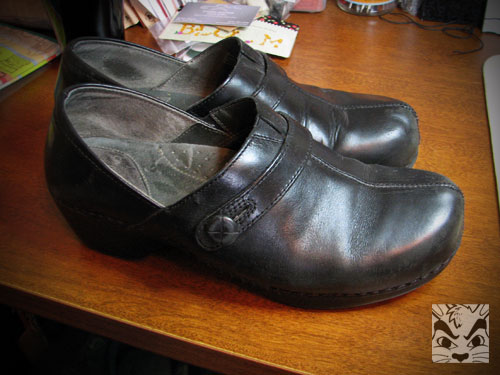 My beloved Danskos that I practically wore almost everyday for a year and a half. Supposedly, they are supposed to last longer than that but maybe I have weird feet. I realized that they just couldn’t be fixed and finally let them go. One foot had a split on the side and the other had a crack on the bottom.
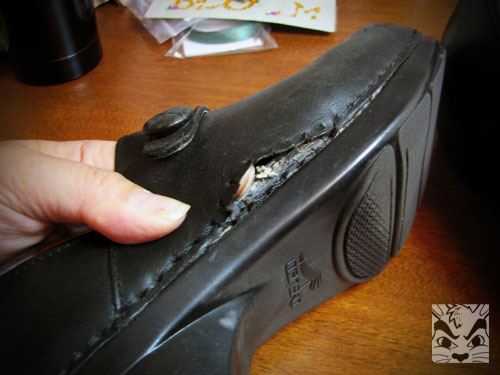
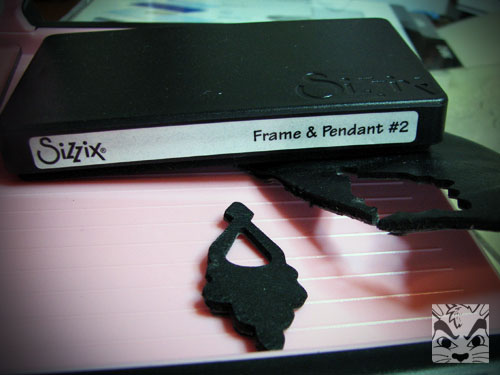
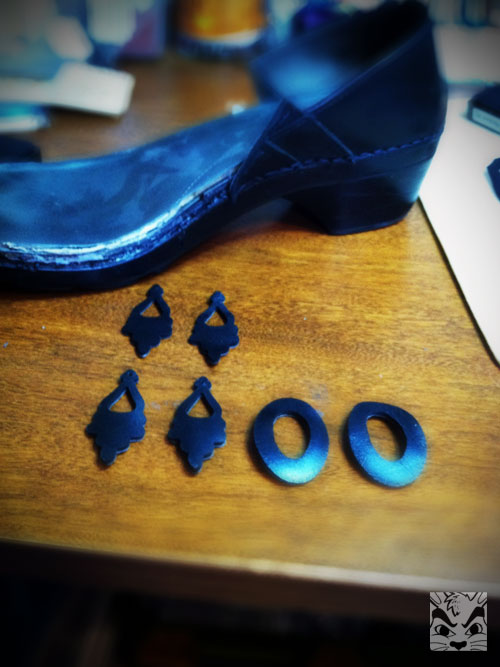
 Instead of throwing them away, I decided I wanted to make them into something else but they sat for months and months…Until this challenge, well, challenged me!! I decided to cut them up and make earrings out of them. They have been granted an afterlife.