Whenever I think about airbrushing, I think back to the airbrushed unicorn sweatshirt I had and the airbrushed heart with my name and my boyfriend’s name with our ‘steady date’ on it from high school. Anybody else remember those? Anybody? (cue the sounds of crickets)
I did have an airbrush system that attached to my Pantone markers back in college (because I was crafty, not for any professional/collegiate reason) and had such fun using it (although I could in no way mimic the look of the unicorn or sweetheart sweatshirts!). I know that copic markers have a system like that and while I would love to have that, I can’t rationalize buying it (because of course, I would need the big set of colors too!) So I was delighted when I came across this fabric airbrush kit by Testors, makers of model car paint, called ColorArtz.
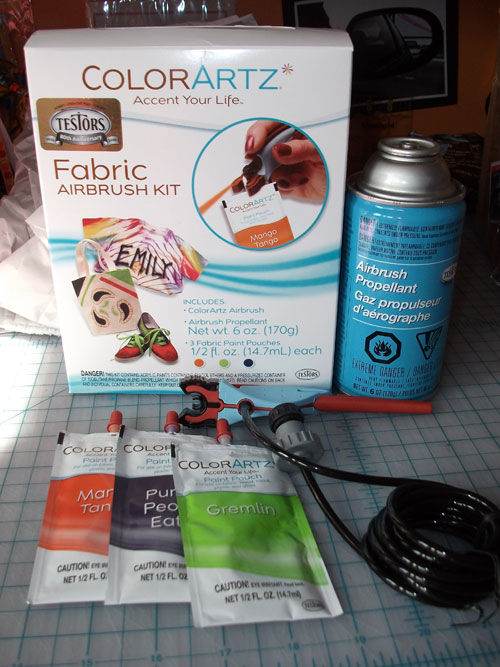
Out of the box it comes with 3 pouches of paint, the airbrush and a 6 oz. can of air compression. The colors included are orange (mango tango), a bright green (gremlin) and dark purple (purple people eater). For some reason, I thought they included a stencil in the kit as well. I was a little bummed that there wasn’t one in there, it would have been nice if they included one. They also sell stencils with a sticky back on them that can be re-used. I opted to use my sizzix machine and freezer paper to make stencils to test this out as well as some stencils from Ed Roth’s Stencil 101 book and Marthe Le Van’s Stencil Me In book.
The first project I used a white 100% cotton undershirt and sizzix/freezer paper. I protected my desk area with some cut up paper bags and placed some cardboard underneath the first layer of the shirt to prevent bleeding through.
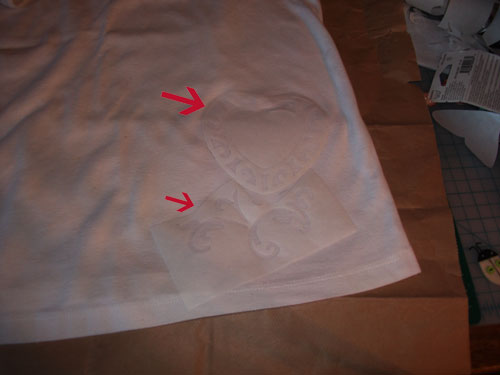
It’s a little hard to see the freezer paper so I tried darkening the image and put in the arrows to show the stencils.
I love using my sizzix with the freezer paper because when you iron the freezer paper onto the fabric, everything sticks down and you don’t have to use stencil tacky spray. The only thing with the sizzix dies is that if there is more than one image on the die, they are grouped close together so you have to take care cutting out the image you want. And depending on your die, the pieces can be very delicate. You just have to be careful with the delicate pieces and I used scrap freezer paper to cover parts of the image I didn’t want showing up. For instance, in the heart, the middle is cut out but I didn’t want that showing through so just used the cut out to cover it up. The instructions recommend masking at least 12 inches around your design. Of course, I did not do that and do you know what happened? I got overspray. But I don’t mind it because I feel it adds some authenticity to the airbrushing. Who wants perfect anyway? And because I am impatient and excited to try it, I used 2 stencils at the same time so you can see some orange mixed in with the green swirls.
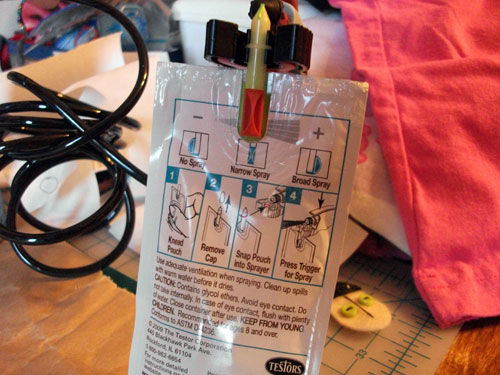
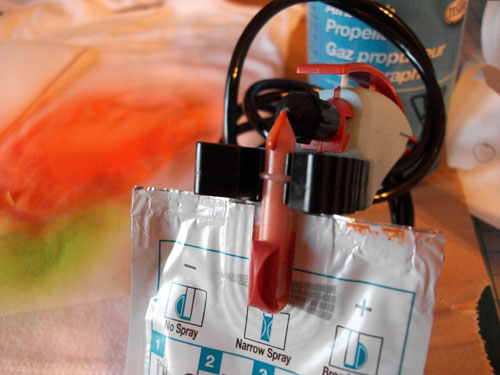
Snapping in the green pouch and setting the nozzle in the middle for a narrow spray.
It was really easy to attach the color pouches to the spray, it just snaps right in. First you have to knead the pouch a bit to make sure the color is all mixed. Just make sure the paint valve is in the off position! At one point I was kneading a pouch (probably a bit aggressively) and wasn’t paying attention and the valve moved to the open position. When I took the cap off, some paint spit out a bit and onto my table. A quick wipe and no one will be the wiser! Once I attached the pouch, I tested the spray on scrap paper to get a better feel of it. The left position is closed, the middle is a narrow spray and the right is a broad spray.
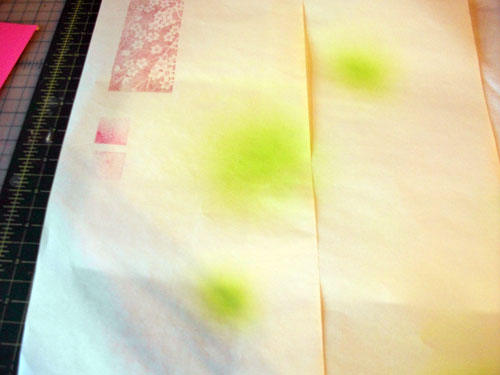
Test spray
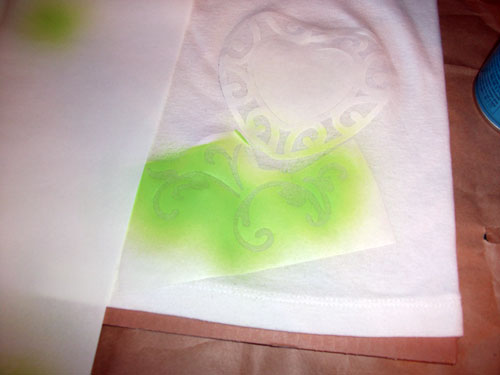
Once you get a feel of how much spray comes out, it’s really easy to glide over the stencil. It’s better to do a series of light coats instead of one or two heavy ones. There was a slight odor and the instructions recommend working in a well ventilated area. I had my window open and it was fine. It’s really easy to switch color pouches as well. I switched to the orange pouch without any problems. There can be some drippage on the spout after some spraying, as evident in the next photo. In the three projects I’ve done, nothing has dripped onto the fabric but you probably just want to keep an eye out on it and wipe it away when you see any buildup.
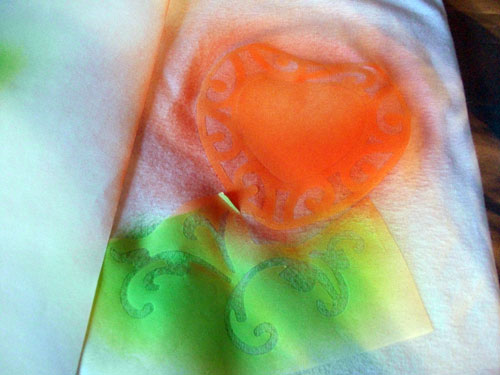
Ready to be revealed
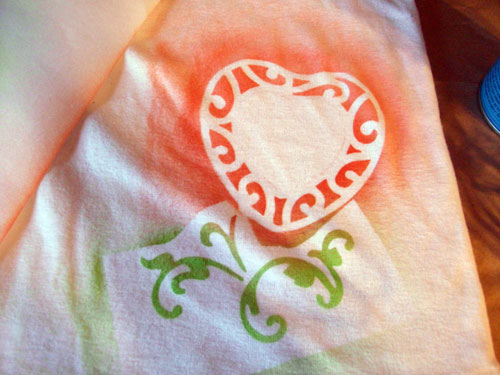
The reveal!
I must admit, I giggled with delight as I unpeeled the freezer paper and saw my creation. You can see all the overspray and like I mentioned, I don’t mind it. I do plan to put more thought with my future projects using the sizzix but being as this was my first project, I am quite happy with it!
For the 2nd project, I wanted to see how the colors worked on something that wasn’t white. One of my favorite shirts (also 100% cotton) had a grease stain on it and figured this was the perfect opportunity to cover it up. I worked with the boom box stencil from the Stencil 101 book. I was a tad lazy and did not use the tacky spray and just taped it down (not every much either as you can see!).
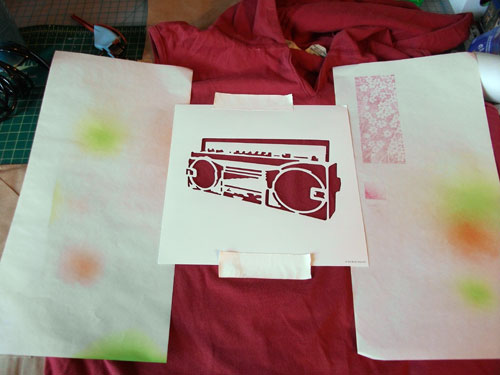
I didn’t use the pouches from the kit but the extra ones I ordered in addition to the kit. I used silver lining and black tie. After doing this stencil I have to remember to keep my spray perpendicular to the fabric and not at an angle. The instructions did mention this. You can see where I started angling and since I didn’t use tacky spray to keep the stencil down, it was easy to get in under the stencil. I did do better keeping the 2 colors separated. You can’t tell from the photo but there was some overspray at the top, near the neck because I did not mask that area. 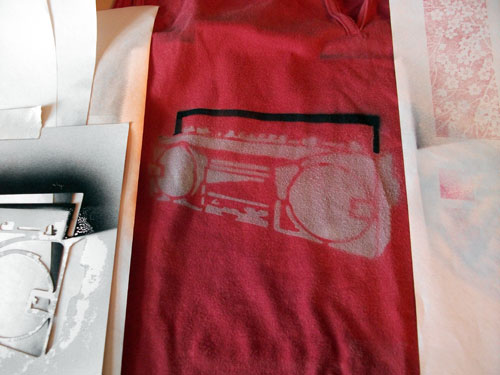
I just need to add some music notes and this shirt is as good as new!
The 3rd project I tried was a shirt (100% cotton again) for my daughter. I had used this feather stencil from the Stencil Me In book on a different project so there was still some tackiness to it (yes, that time I pulled out my tacky spray!). I could have benefited from giving it another quick coat of tacky spray but opted not to.
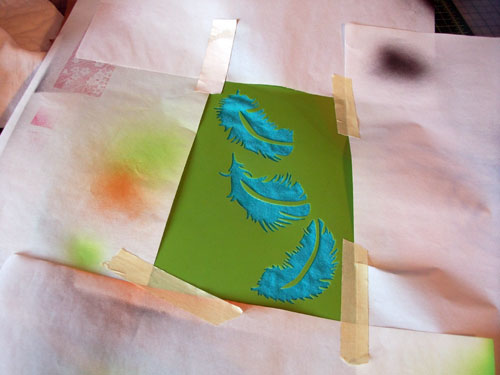
I did a better job of masking the whole area around the stencil. The best job of the three but I still managed to get overspray! Probably due to the fact that I again starting angling my spraying and it got through that top section that is not all taped down. A little more practice with that and I should get better with it. Or just use more tape to tape it all down!
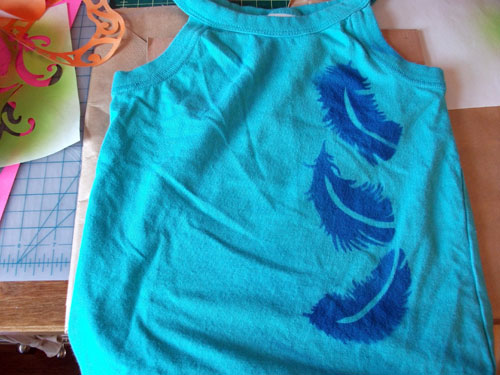
Look how cute!!
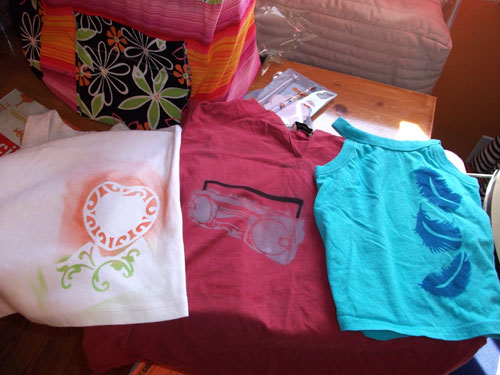
And here are all three projects side by side:
Pros:
• The kit retails for $24.99-29.99 and the pouches for $2.99-4.49 so it’s relatively inexpensive to start adding some extra style to your clothing, bags, shoes!
• Works on fabric, glass, plastic, and wood and of course paper as well so the possibilities are endless!
• A nice selection of color pouches.
• It’s easy!
• Heat setting is not necessary.
• No special fabric treatment, just wash as per instructions on your garment.
Cons:
• There is some odor so ventilation is necessary.
• Can of air compression is highly flammable.
• Ample space is needed to spread out your piece with enough masking.
 Comments(3)

