Earth Safe Finishes
I discovered Earth Safe Finishes from the Totally Creative online magazine. ESF makes environmentally friendly, VOC free paints and varnishes. Now, I am all about being green and using less toxic stuff but to be honest, what drew me most to this product was the ability to make my own paints/sprays in my choice of colors. I ordered their green gift starter kit that comes with 3 colorants (red, yellow and blue), a bottle of fabric magic, acrylic paint base and ultra thick. I added a bottle of tackifier and a bottle of white and black colorants (to make sure I have endless color possibilities!). It came within the week! Wowee!
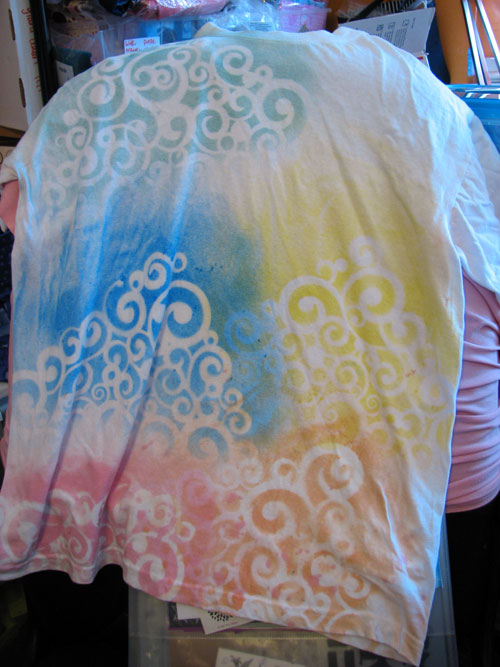
I was especially excited to use their fabric magic for spraying using stencils! I do enjoy using my ColorArtz (as seen here and here) but the smell can really get to you! And with Sienna around the house, I always feel guilty using it. I bought a dozen 4 oz spray bottles and went about mixing all different colors. I even tested them before putting them to use. Here is a scrap shirt I sprayed with 5 colors I made. The pink, green and orange were mixed and obviously the blue and yellow were not. I put between 5 and 10 drops for each color. This is before washing:
and after washing:
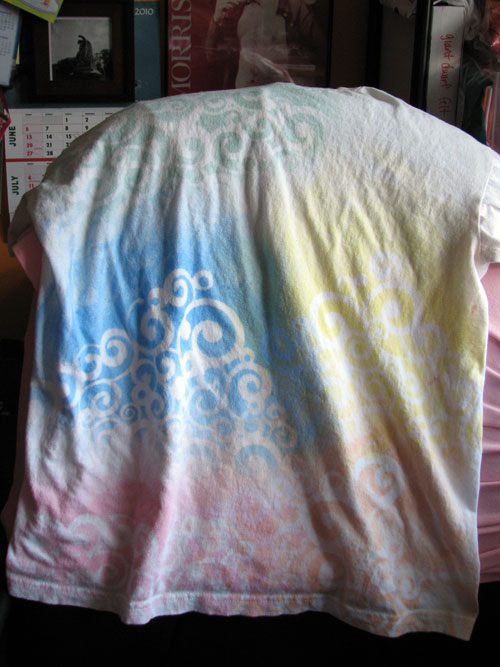
Not as vibrant (which is to be expected) but you know, not too shabby either! Also, the lighting isn’t exactly the same in both photos so this is not really scientific. I was heavy handed with my spraying so when I lifted off the stencil, the paint slid off the stencil and onto my shirt. I’ll have to remember to clean up the excess spray next time.
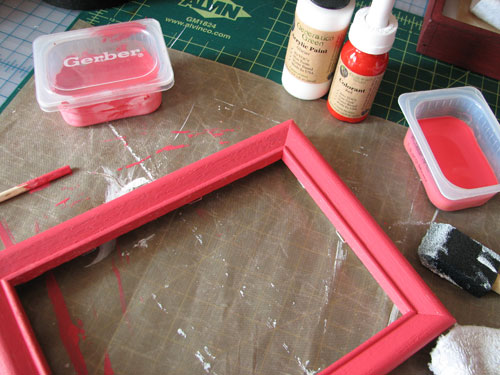
My first really project was for my new earring display so I used the acrylic paint base and red. I was really looking for a true red but didn’t get it. I guess because the acrylic paint was white. The bottle says you only need a couple of drops but I ended up putting a lot of drops in. I don’t remember how many but definitely more than a few. I still didn’t get the red I wanted but the end result wasn’t a bad color. That was a little perturbed about it and not sure how to get a real red. I’ll have to keep experimenting.
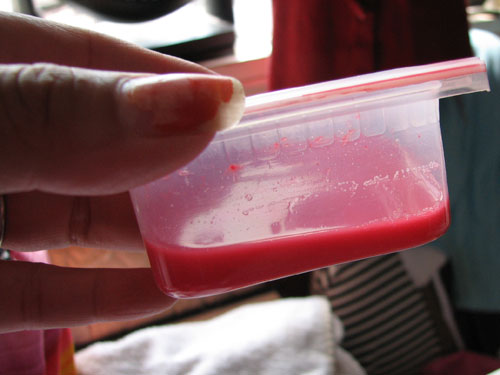
For my next project, I wanted to make fabric paint for stenciling the robot on Nico’s shirt as seen here. The “recipe” called for water, fabric magic, the colorant and ultra thick.
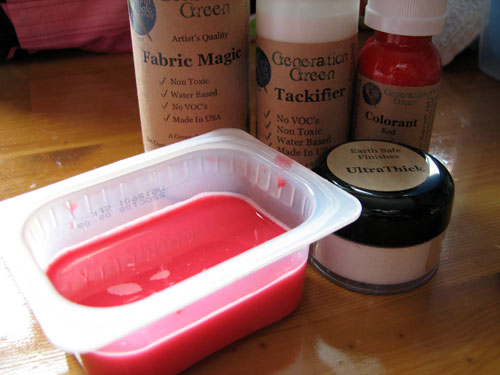 I followed the exact measurements but look how watery it was! I’m thinking maybe next time I’ll try less water or maybe the acrylic base instead of water? Hmmm…
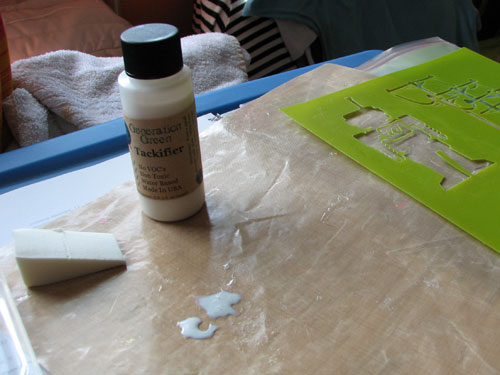
I don’t think it would have done very well with the stencil so I did not use it. I saved it so I can do a test with it on a scrap shirt. I did use their tackifier as a temporary adhesive for the stencil and it works great for that! I am loving it and can see using it a lot. Maybe I can throw away that temporary spray adhesive that smells and sprays everywhere and gets everything around your project sticky!
I also used the fabric spray on a t-shirt I made for Sienna that I will post soon. I look forward to experimenting more with these products and the ability to make whatever colors I want on a whim will make me keep on using them.
 Comments(1)


Did you allow the paint on the shirt to dry 24 hours before heat-setting the color? I found that 24 hour curing time really makes a difference.